
Initial Inspection: Visual and Tactile Signs
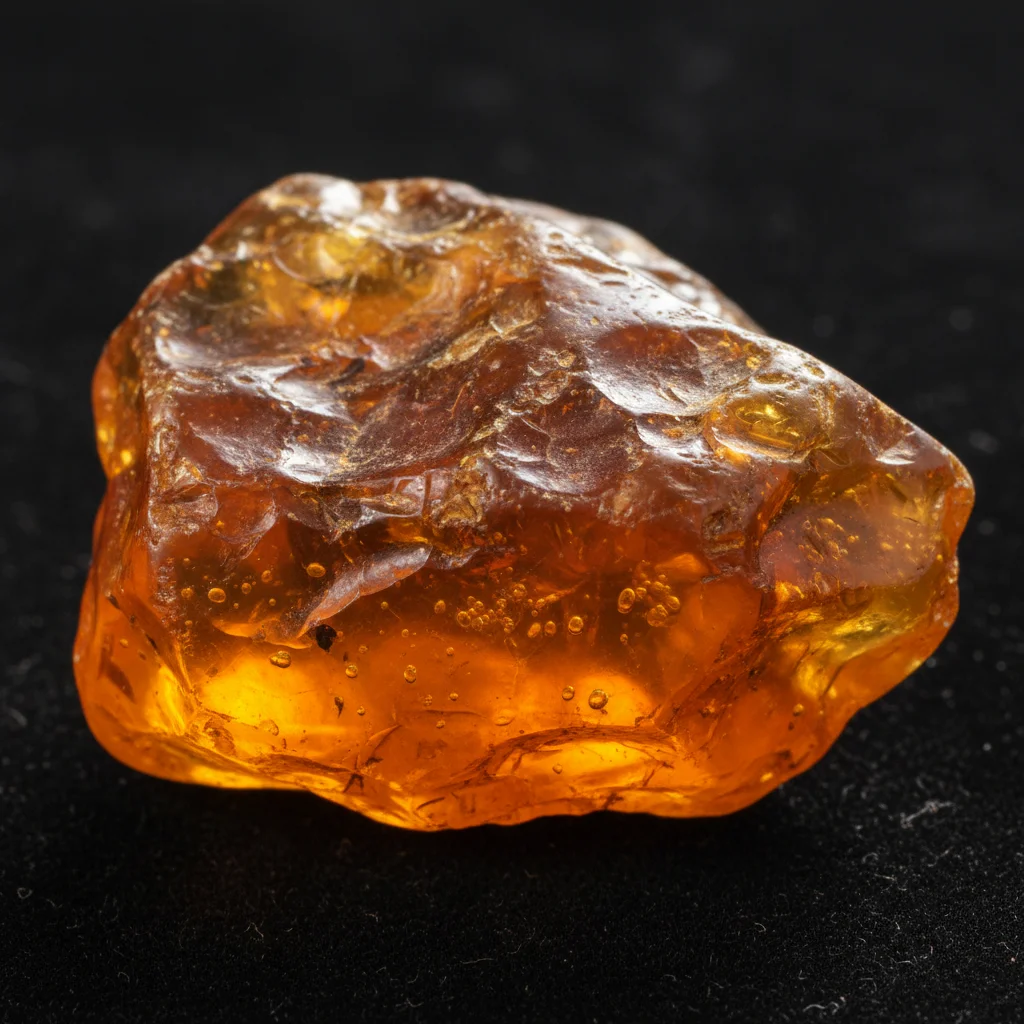
The first step in authenticating amber begins with a simple visual and tactile analysis. Real amber, being fossilized resin, possesses unique properties. It is very lightweight, which immediately distinguishes it from glass or stone imitations that are significantly heavier for the same volume.
To the touch, natural amber is warm, as it is a poor conductor of heat. If you hold it in your hand, it will quickly adopt your body temperature. Glass or plastic, by contrast, will remain cool. It's also worth paying attention to the internal structure: in a natural stone, you can often notice small imperfections, air bubbles, or even ancient inclusions, whereas fakes often look too perfect and uniform.
Testing Amber at Home: Simple and Safe Tests
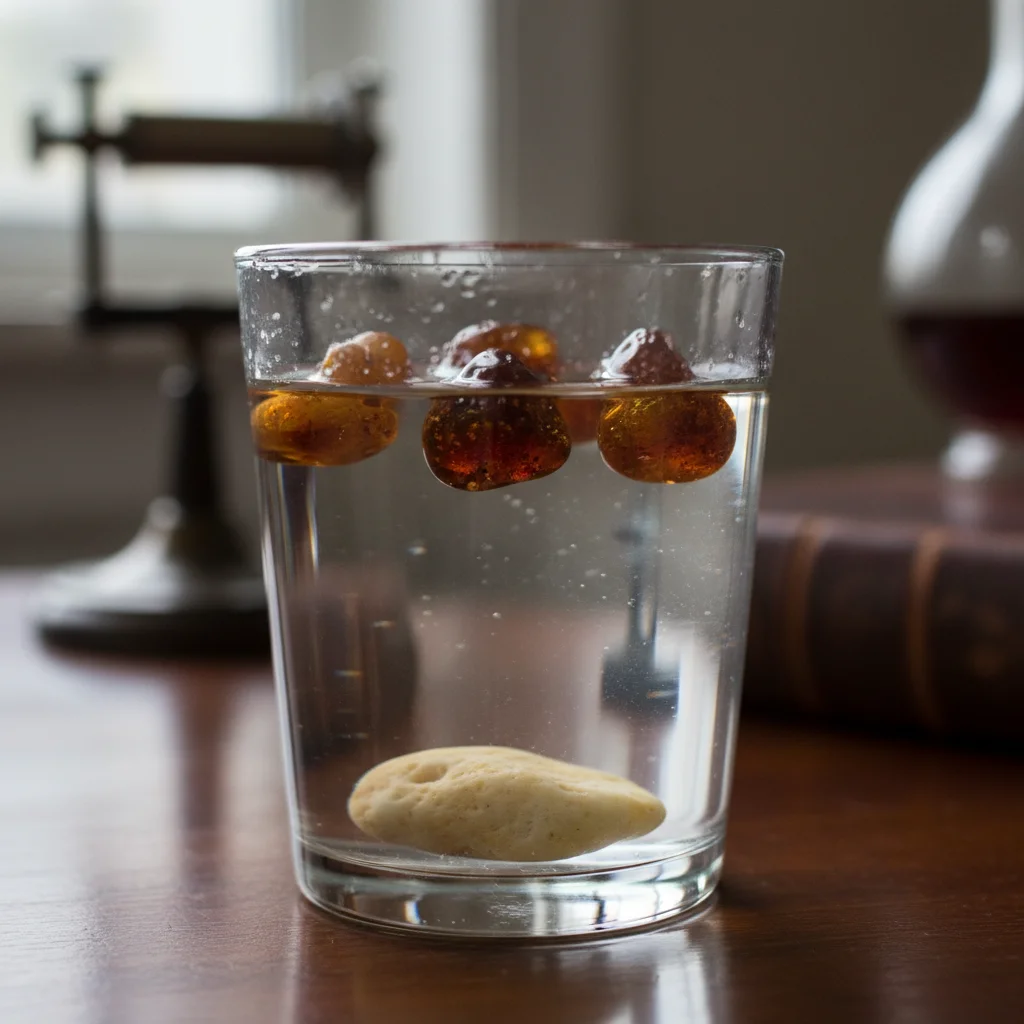
There are several reliable ways to test amber at home without damaging it. The most well-known is the saltwater test. Real amber has a low density, which allows it to float in a concentrated saline solution, while most imitations made of plastic, glass, or epoxy resin will sink.
- Pour warm water into a glass.
- Dissolve a large amount of salt in it (about 8-10 teaspoons per glass) until the salt no longer dissolves.
- Place the specimen in the solution. Natural amber will remain on the surface or float within the water.
- After the test, be sure to rinse the stone in clean fresh water and wipe it dry.
Another safe method is the static electricity test. If you rub natural amber vigorously against a woolen or silk cloth, it will become electrified and start to attract small pieces of paper or hair. Most plastic fakes do not have this property, or they become much less electrified.
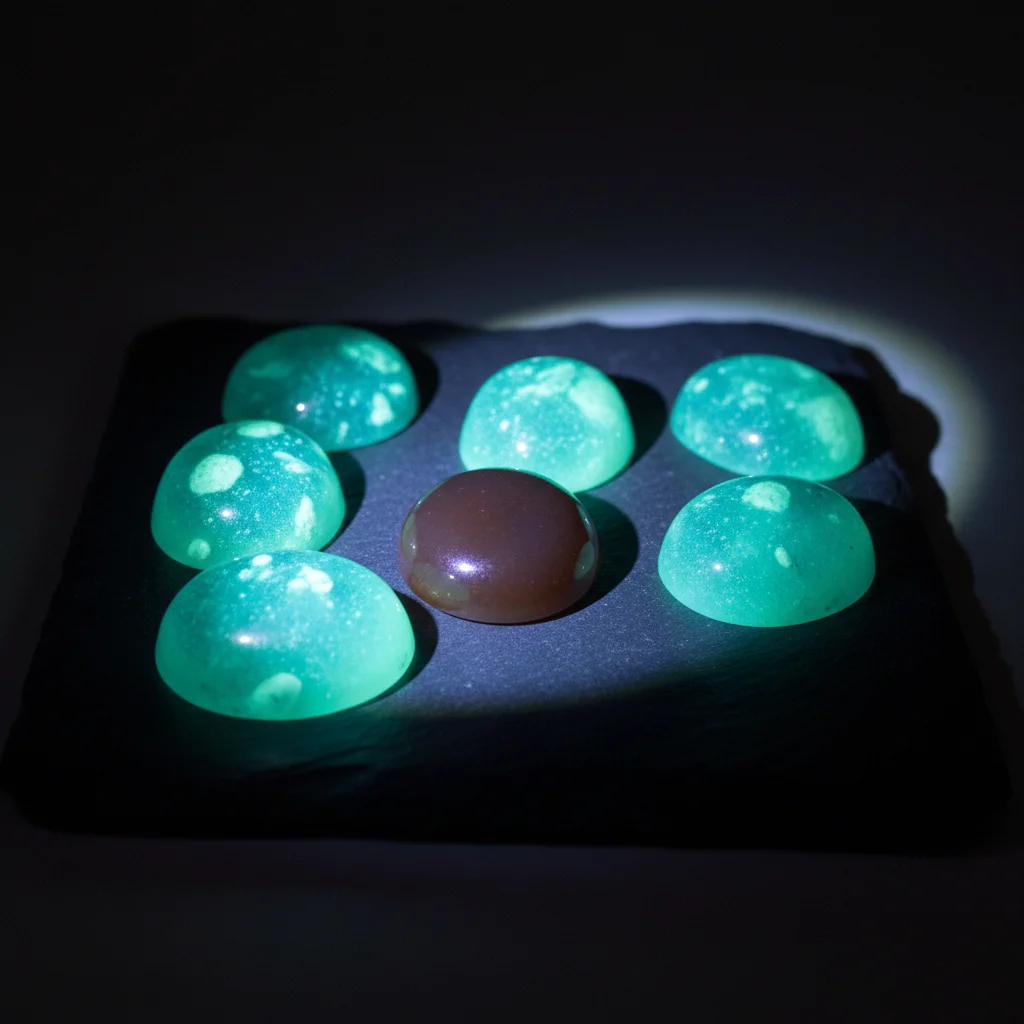
Instrumental Methods: The Ultraviolet Test
One of the most reliable and indicative methods for verifying the authenticity of amber is using an ultraviolet lamp. Under UV rays, natural amber begins to glow, or fluoresce. The nature and color of the glow can reveal a lot about the origin and authenticity of the stone.
Natural Baltic amber most often produces a bluish or greenish-yellow glow. The intensity can vary depending on the transparency and color of the stone itself: opaque specimens glow more brightly. It's important to note that the presence of a weathering crust can weaken or change the color of the fluorescence.
Most imitations behave differently under ultraviolet light. Plastics and epoxy resins either do not glow at all or produce a dim glow of unnatural shades. Copal, a young fossil resin often passed off as amber, glows very faintly under a UV lamp, usually a whitish color. This method allows for the quick elimination of crude fakes.
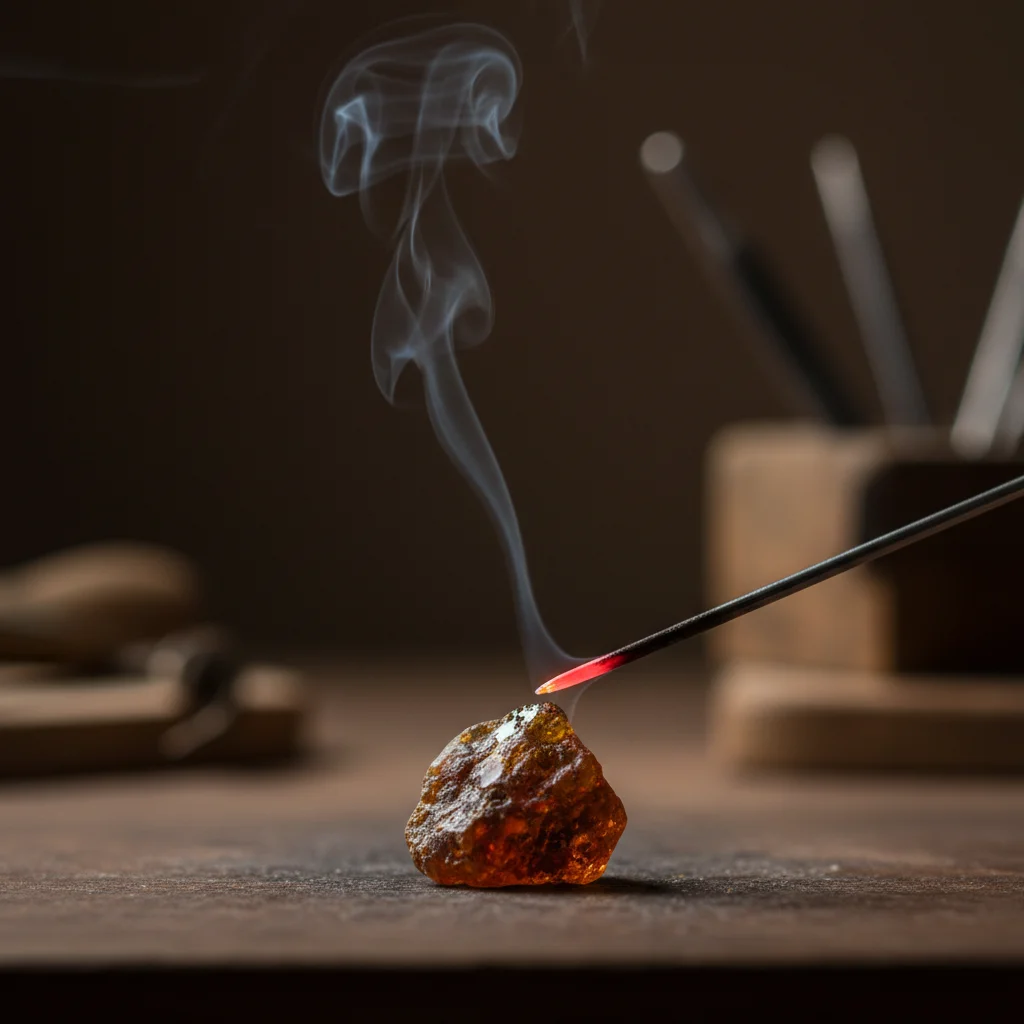
Destructive Methods: When the Risk is Justified
There are also so-called destructive methods, which can damage the specimen, so they should be used with great caution and only on inconspicuous areas of the item. Such methods include the hot needle test. The tip of a heated needle is applied to the stone's surface.
When in contact with a hot needle, real amber will begin to melt and emit a characteristic pleasant smell, similar to the aroma of pine resin or rosin. Plastic imitations will melt faster, releasing a pungent chemical odor. Bakelite does not melt but chars, emitting the smell of carbolic acid. This method requires experience, as a small mark will be left on the item.
Another method is the solvent test, using, for example, acetone or alcohol. A drop of the solvent is applied to an inconspicuous area. The surface of natural amber will remain unchanged. At the same time, many fakes, especially those made of pressed amber (ambroid) or copal, will become sticky and lose their shine. This method should also be used with caution to avoid spoiling the item's appearance.
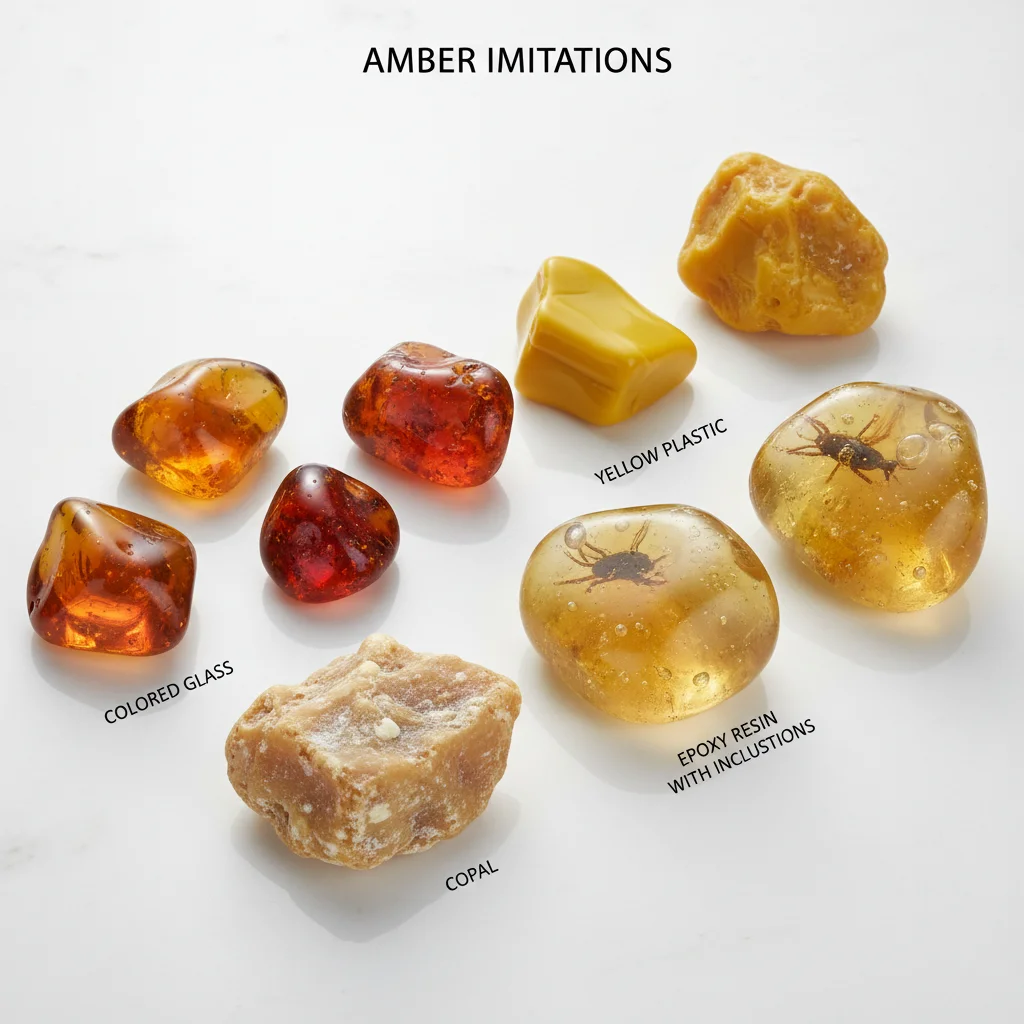
Main Types of Fakes and Their Distinguishing Features
| Imitation | Key Signs and Testing Methods |
| Glass | Heavy, cold to the touch, cannot be scratched, sinks in salt water, does not become electrified. |
| Plastic (Bakelite, polystyrene) | Has a uniform structure, emits a chemical odor when heated, sinks in salt water, may not fluoresce under UV light. |
| Copal | Young resin. Becomes sticky from a drop of alcohol or acetone, melts at a lower temperature, glows faintly under UV light. |
| Ambroid (pressed amber) | Made from amber chips. Has a cloudy, non-uniform structure with visible particle boundaries, may have oval air bubbles (instead of round ones in natural amber). Fluorescence under UV is spotty. |
| Epoxy resin | Often contains perfectly preserved insects arranged unnaturally. Sinks in salt water, has no resinous smell when heated. |
The market is flooded with various amber imitations, and it's important to be able to recognize them. Knowing the main types of fakes helps avoid mistakes when buying. The most common forgeries are made from glass, plastic, various resins, and pressed amber chips.
Each material has its own characteristic features that can be identified using the tests described above. For example, glass is easy to identify by its weight and temperature, as well as the fact that it cannot be scratched with a needle. Plastics give themselves away when heated, emitting an unpleasant chemical odor.